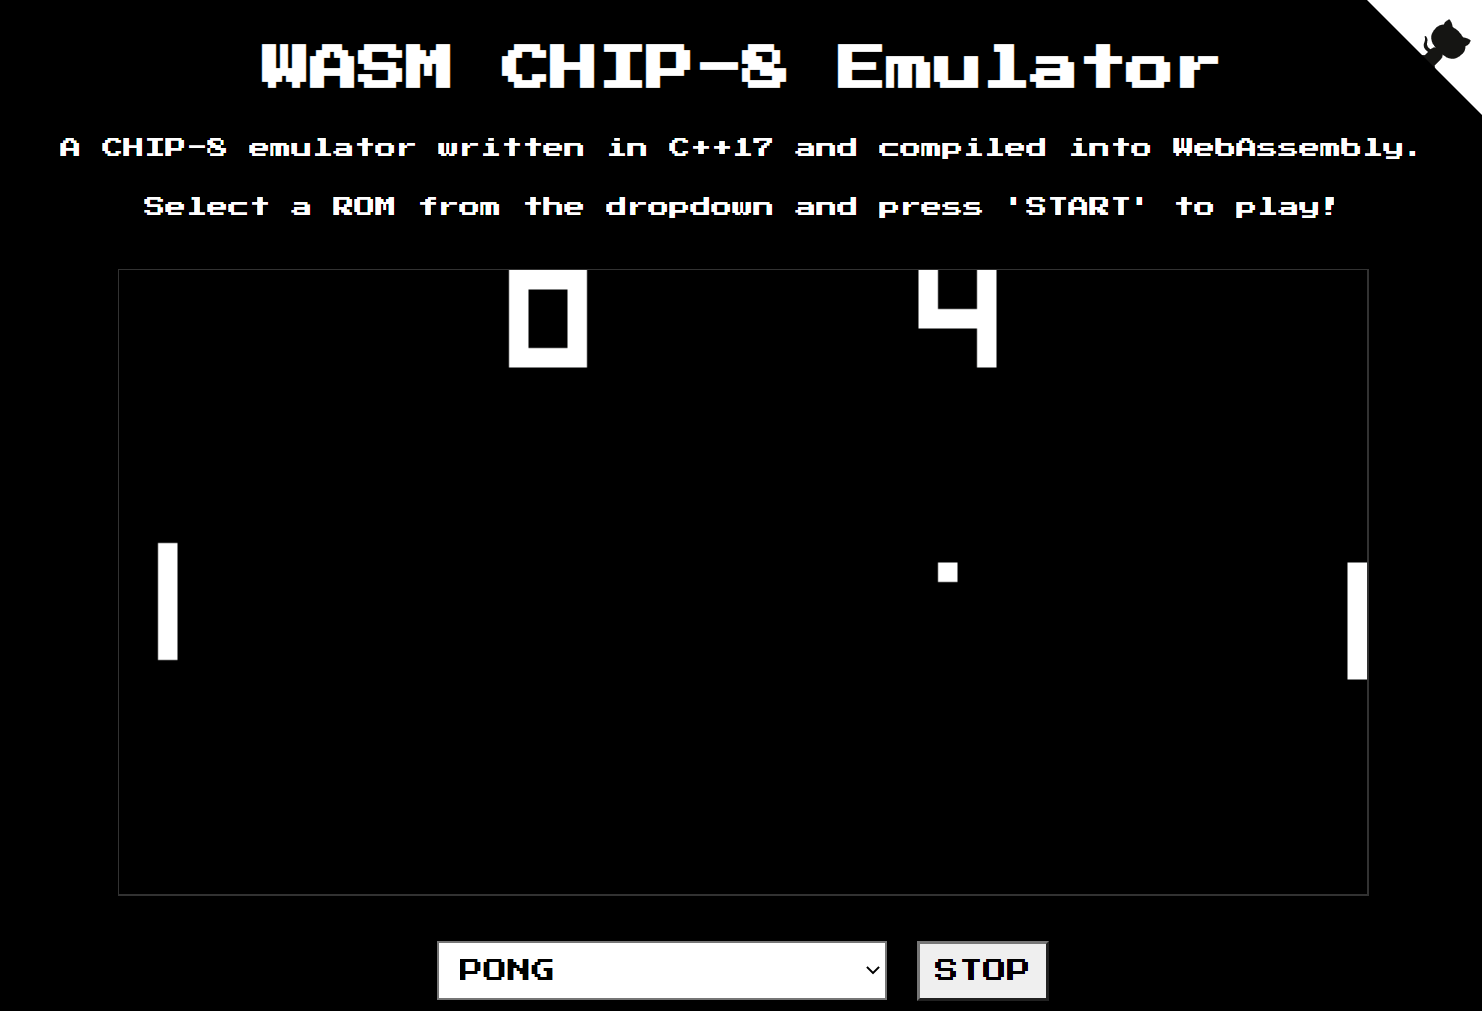
A couple of months ago I wrote a CHIP-8 emulator in C++17, as I wanted to learn about emulation and expand my C++ knowledge outside of work. In this post I’ll explain how I went about compiling the emulator which was designed to run natively, to also run on the web using the magic of WebAssembly. You can try out the result here.
My main motivation for getting the emulator working on the web was that in its current state, it took some effort to get it up and running. I could send someone the pre-compiled binary or give building instructions, but those aren’t guaranteed to work on every platform. Ideally, I wanted a solution that can be hosted on the web, and I recently heard about this cool new “WebAssembly” which seemed perfect for the job.
WebAssembly (abbreviated Wasm) is a binary instruction format that runs on modern web browsers and allows apps to run at “near-native speed”. In reality, there is a performance hit of about 50% relative to their native counterparts so it won’t be great at running AI or HFT algorithms in your web browser, but it will be good enough to play Space Invaders.
For a great explanation on what WebAssembly is exactly and how it works, I’d recommend Link Clark’s blog post.
To get our Wasm output, Emscripten can be used. It’s a toolchain that can compile any language which uses LLVM into WebAssembly.
Armed with these tools, the idea was simple: compile my emulator using Emscripten, sort out any errors, and deploy it on a website. An afternoon’s work, right? …not quite. Turns out that there were a couple of pitfalls along the way, so I thought I’d document my journey of compiling a loop-based C++ program running into WebAssembly for future me’s reference or for anyone else that may be attempting a similar task themselves.
Setting up Emscripten
I’ve set up Emscripten and did all the development described in this post on a Windows 10 machine (Unix fanboys, please stay with me - mentions of Windows end here). The setup will look very similar on other platforms and a lot of the code/configuration I mention should work on Mac and Linux, and if not then with minimal adjustments.
Mozilla’s article on compiling C/C++ modules to WebAssembly was a great crash-course for setting up and starting to work with Emscripten. I recommend it as a starting point for anything WebAssembly related.
It’s worth pointing out there aren’t many IDE plugins or integrations for Emscripten as of writing this post. I tried to hack as much integration as I could into CLion, but what I managed to get to work caused issues for me later on. Emscripten relies on its own compilers and linkers a lot, so I would recommend sticking solely to the terminal to save yourself some headaches.
CMake and Emscripten
Since my emulator is a not a single file as in the Mozilla examples mentioned in the section above, the most appropriate way to compile the emulator was to use CMake. I took the compiler flags mentioned in the Mozilla examples and added them to my CMakeLists.txt:
set(CMAKE_CXX_FLAGS "${CMAKE_CXX_FLAGS} -s WASM=1 --shell-file ${CMAKE_CURRENT_LIST_DIR}/web/shell_minimal.html")
Next I created a sub-directory in my root project directory for my CMake output (called cmake-build-emscripten) and called the following from it:
To generate the project build system:
emcmake cmake -G "CodeBlocks - MinGW Makefiles" ..To compile the code:
mingw32-make
Potential CMake Problem
If you’re using C++17 features, you may get No such file or directory errors referencing certain headers. This can be caused by accidentally compiling the code outside of Emscripten either by yourself or by your IDE. The sure-fire way to fix these is to clear the CMake project build system directory and re-create it.
Adding Emscripten Sections to CMakeLists
I wanted to maintain the ability to compile my code natively as well as being able to compile it using Emscripten. The CMake EMSCRIPTEN variable solves this problem, as it’s set to true when compiling with Emscripten. Note that when compiling with Emscripten, the CMake UNIX variable will also be true, so make sure your branching logic is correct.
For the full CMakeLists.txt that I ended up using, look here.
Initial Compile
I was almost ready to compile the code. Since the emulator is using SDL2 for audio and graphics, I also needed to specify the -s USE_SDL=2 compiler flag. When this is specified, Emscripten will automatically download the SDL2 Emscripten port.
I hardcoded a ROM to the path, and compiled the source otherwise unaltered:
Emscripten Release
-- Configuring done
-- Generating done
-- Build files have been written to: C:/dev/git/chip8/cmake-build-emscripten
Scanning dependencies of target chip8
[ 14%] Building CXX object CMakeFiles/chip8.dir/src/Chip8.cpp.o
[ 28%] Building CXX object CMakeFiles/chip8.dir/src/Renderer.cpp.o
[ 42%] Building CXX object CMakeFiles/chip8.dir/src/KeyboardHandler.cpp.o
[ 57%] Building CXX object CMakeFiles/chip8.dir/src/Configurator.cpp.o
[ 71%] Building CXX object CMakeFiles/chip8.dir/src/Audio.cpp.o
[ 85%] Building CXX object CMakeFiles/chip8.dir/src/Main.cpp.o
[100%] Linking CXX executable chip8.js
[100%] Built target chip8
It… worked? I hosted the generated page locally with Python
python3 -m http.server
And had a look at it in Chrome. I found that the screen was blank, but there was an exception in the JavaScript console:
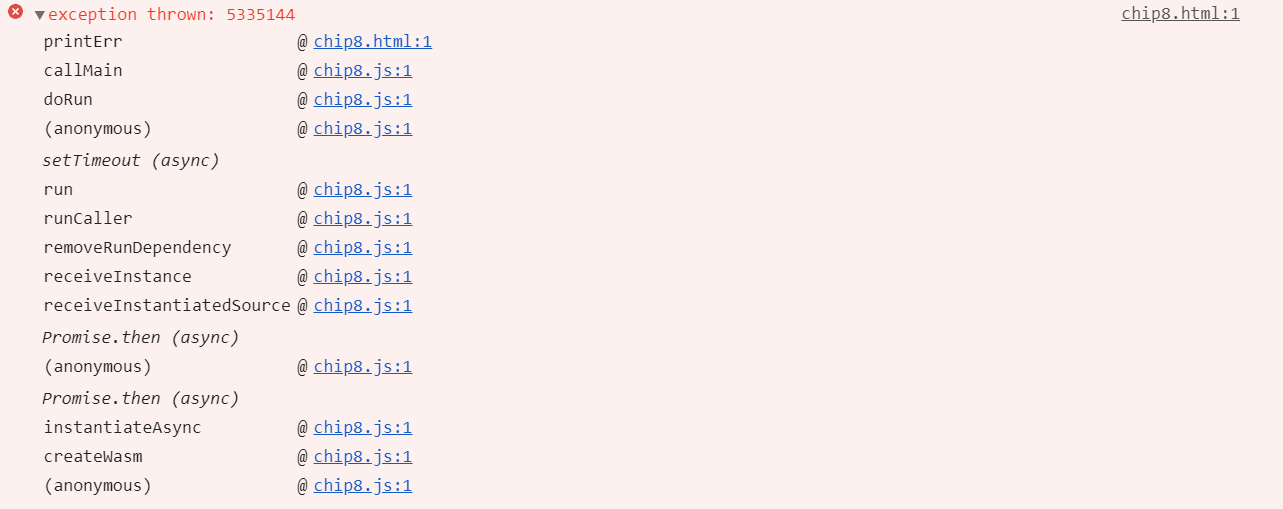
Time to attempt some debugging!
Debugging Emscripten
Investigating the JavaScript exception isn’t particularly useful, as at that point the code has been generated by Emscripten and is very different to the source code. There is a section on debugging in the Emscripten docs, but in essence the debugging tools aren’t currently particularly robust and will require modifying the program’s original source code.
The most helpful ways to debug Emscripten code that I found are:
Setting the
ASSERTIONS=2compiler flag. This catches some potential issues, but isn’t particularly useful by itself. I also found this flag to crop up with red herrings sometimes which got me debugging issues that were either fine to ignore, or went away by themselves as I developed more of the code.Handling C++ exceptions from JavaScript. This requires some extra compiler and linker arguments and some extra code, but will give you readable exceptions in the JavaScript console. Very useful if you know which function is throwing exceptions.
Manual print statements. Not particularly sophisticated, but works well enough and helped me debug this first exception. Note that you should flush using
std::endlor"\n"when usingstd::coutstatements or else your messages won’t get printed while your program is running, and only when it terminates.
File system access in Emscripten
The reason for the exception turned out to be simple - it couldn’t find the ROM I specified to load. The reason for this is that WebAssembly is designed to be secure and to run in a sandboxed execution environment - the file that I was trying to load not in the Wasm sandbox.
To use files within Emscripten, a File System API is provided as well as a way to package files. Since I already had the C++ code for reading files, I went down the packaging files route. There are two compiler options that can do this job:
--preload-file <name>: allows you to pre-load a file or directory before running the compiled code asynchronously. The result is a.datafile alongside your generated.htmland.jswhich contains the preloaded files. This is the option I went with.--embed-file <file>: allows you to embed a file or path into the generated script. The result is that the files will be embedded inside your generated.jsfile. This is less efficient than pre-loading and should only be used when there are few files to load.
After packaging the files, they can be accessed with file API calls from your C/C++ code as if the files existed locally.
Once I packaged the files properly, everything compiled again. I checked the website and there weren’t any exceptions there, but the output was blank and the page was frozen:
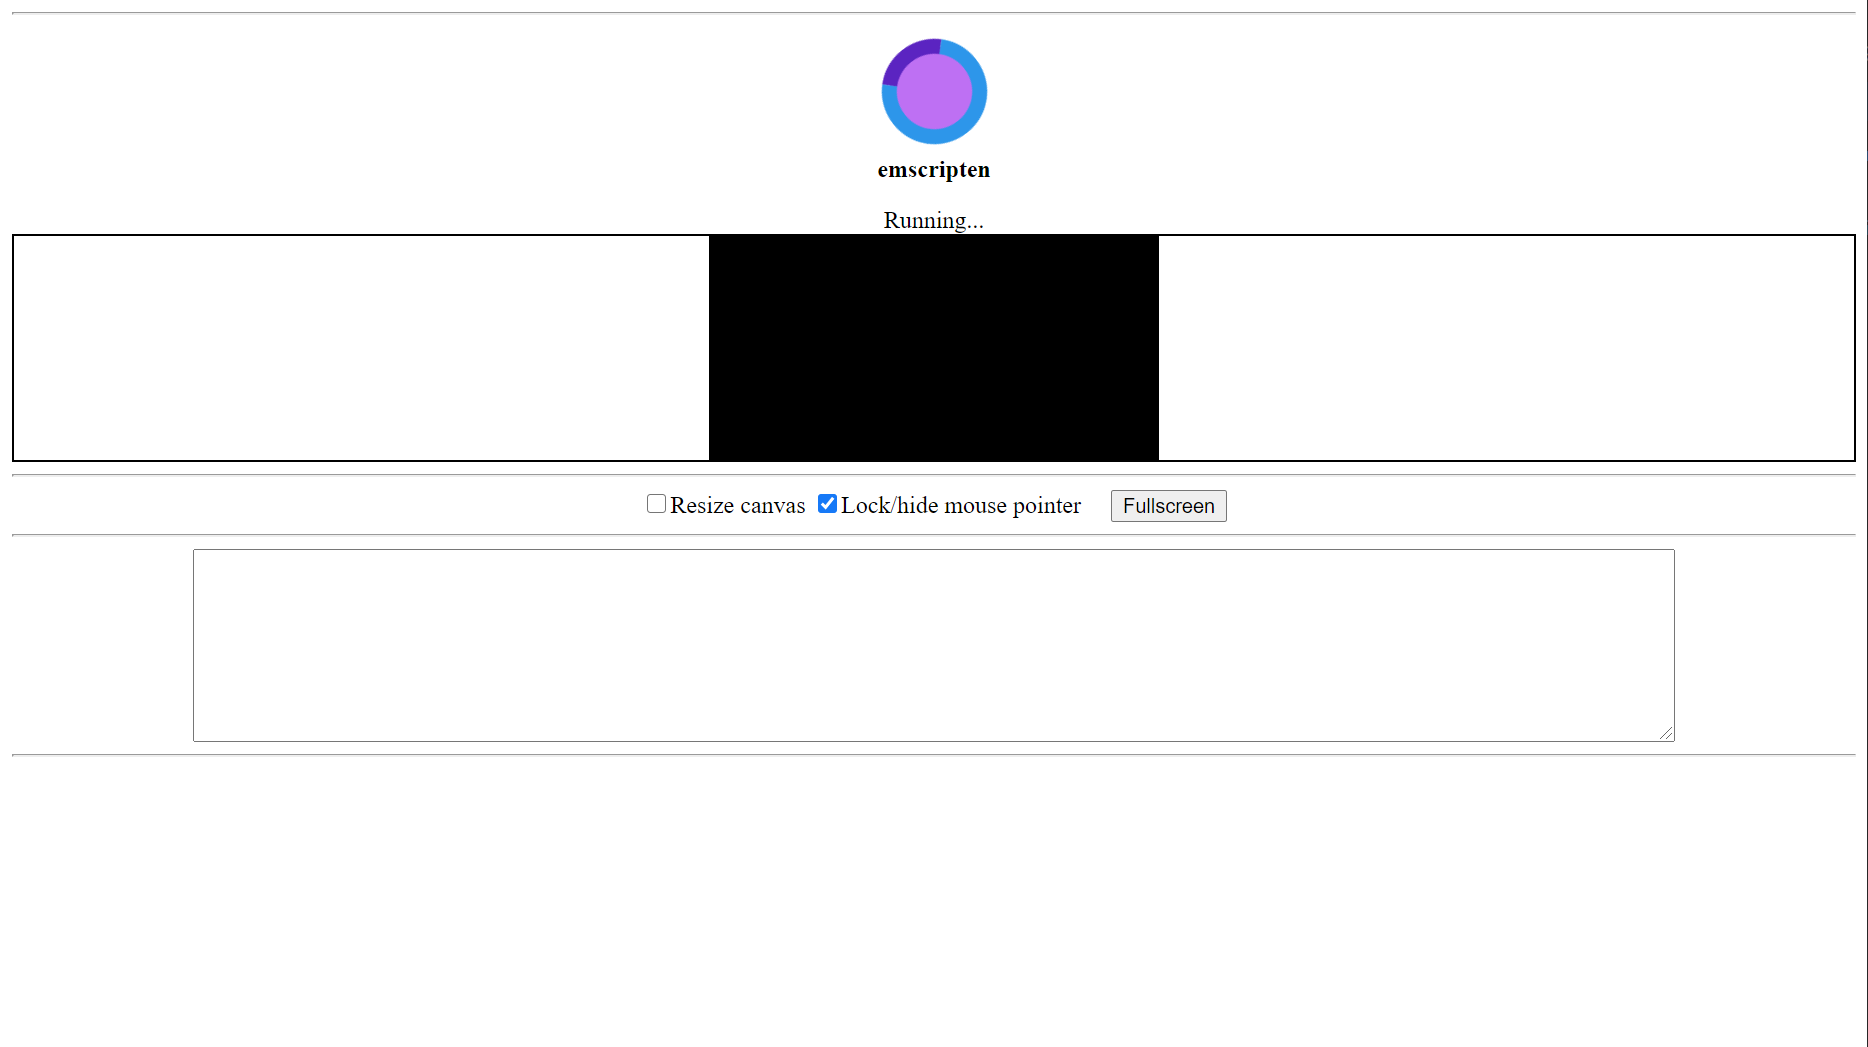
I also got the following warning:
The AudioContext was not allowed to start. It must be resumed (or created) after a user gesture on the page. https://goo.gl/7K7WLu
For the time being, I decided to get rid of the audio handling code and sort this out later.
Emscripten Loops
To get the screen buffer to update and not freeze the tab, I had to change the current loop that my current emulator runs on into an Emscripten loop. This is because the web browser event model uses co-operative multitasking, so each event gets a turn to run and has to return control to the browser. My code was blocking and never gave control back to the browser, so the tab froze and the display didn’t update.
After a quick Google looking for some real-world examples on how to write an Emscripten loop, I found James MacKenzie’s blog which has been a huge help on getting this to work.
A traditional loop in a C++ program using SDL looks like the following:
while(running) {
    renderFrame();
    SDL_Delay(timeToNextFrame());
}
And once rewritten to use Emscripten loops look like this:
emscripten_set_main_loop(renderFrame, 0, 1);
Where the full signature of emscripten_set_main_loop is:
emscripten_set_main_loop(em_callback_func func, int fps, int simulate_infinite_loop)
emscripten_set_main_loop() simulates an infinite loop, but in reality just calls the loop function a specified number of times a second. The amount of times that this loop gets called a second is specified by the second argument, however the Emscripten docs mention that it’s “HIGHLY recommended” to set this to 0 or a negative value when doing any rendering. The site will then use the browser’s requestAnimationFrame method to call the main loop function which we will revisit later.
Rewriting for a Global Function in the Main Loop
There is a major side effect of having to call a global function in my main loop - every object called within that global function also has to be accessible globally, or be local to that function.
My code wasn’t designed with this in mind and would have been structured differently if I was writing it for Emscripten from the start. Anyway, I had to make a couple of objects global in my small Main.cpp file to make it accessible from the main loop. It’s not a particularly elegant solution, but for this relatively simple project it sufficed.
As an effect of writing code this way your IDE may also complain about not being able to catch exceptions from variables with static storage duration - this is not a problem, and Emscripten will still be able to catch them for us if we add the exception handling in Javasript code that was described in the debugging section.
My code went from looking something like this:
// -- Headers --

int main() {
    try
    {
        Config config{};

        Chip8 chip8{config.mode_};
        chip8.loadRom(config.romPath_);

        KeyboardHandler keyboardHandler(chip8.keys());
        Renderer renderer{"CHIP-8 Emulator", VIDEO_WIDTH, VIDEO_HEIGHT, config.videoScale_};

        const double cycleDelay = (1.0 / config.cpuFrequency_) * 1000000000;
        Timer cycleTimer(cycleDelay);

        bool quit = false;

        while (!quit)
        {
            quit = keyboardHandler.handle();

            if (cycleTimer.intervalElapsed())
            {
                chip8.cycle();

                if (chip8.drawFlag())
                {
                    // -- Graphics rendering code --
                }
            }
        }
    }
    catch (const std::exception &e)
    {
        std::cerr << e.what();
        std::exit(EXIT_FAILURE);
    }

    return EXIT_SUCCESS;
}
To this:
// -- Headers --

Config config{};
Chip8 chip8{config.mode_};
KeyboardHandler keyboardHandler(chip8.keys());
Renderer renderer{"WASM CHIP-8 Emulator", VIDEO_WIDTH, VIDEO_HEIGHT, 13};
int cyclesPerFrame = 10;

void mainLoop() {
    keyboardHandler.handle();

    chip8.cycle();

    if (chip8.drawFlag())
    {
        // -- Graphics rendering code --
    }
}

int main() {
    emscripten_set_main_loop(mainLoop, 0, 0);

    return EXIT_SUCCESS;
}
At this point I’ve also added a separate Main.cpp file just for Emscripten and added rules to pick up the right one in CMakeLists.txt depending on the compiler. The code has diverged a lot from my original Main.cpp, and adding preprocessor made the code difficult to trace through.
Emterpreter
Due to the amount of effort that may be required to rewrite traditional loops into Emscripten loops, depending on your project, Emscripten also provides Emterpreter. This allow you to keep traditional loops by adding emscripten_sleep() calls to your code:
while(running) {
    renderFrame();
    emscripten_sleep(timeToNextFrame());
}
I gave this a go myself before rewriting my code for emscripten_set_main_loop() as I thought this could be a nice way to get things working quickly, but I found it to be a cumbersome process for a couple of reasons:
Emterpreter is not available on the default LLVM backend that Emscripten uses. It’s necessary to switch to the
fastcompbackend, which is considered a legacy backend by Emscripten.When compiling the code, you get various messages mentioning that code compiled using Emterpreter may run slowly.
Emterpreter seems to only be recommended to be used when absolutely necessary by the Emscripten devs, and even then only by certain parts of your program.
It simply didn’t work for my project. I got various errors and decided to switch back and to it the “proper” way, as also more support would be available for doing things that way.
Frame Rate Issues
I compiled the code after rewriting using an Emscripten loop and I got the emulator working!
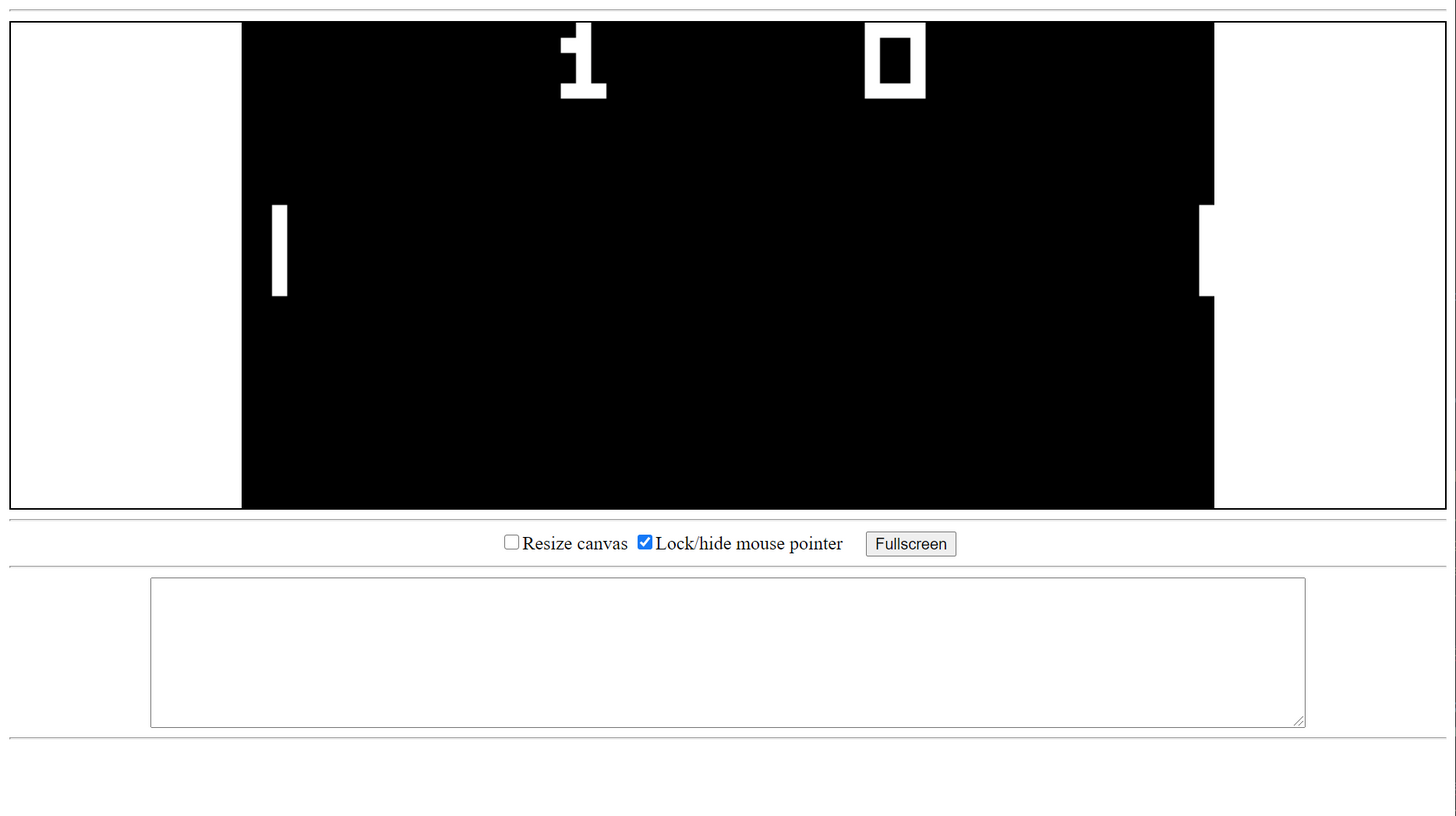
The emulator was very slow, however. I found that this is to do with the requestAnimationFrame method which I mentioned previously that is used to call the Emscripten main loop function.
The Mozilla docs state that requestAnimationFrame gets called “usually 60 times per second, but will generally match the display refresh rate in most web browsers”. This was a problem, as my main loop simulated one CHIP-8 cycle every time it was called. Effectively this meant that my the emulator ran at a frequency of 60Hz when compiled with Emscripten, where most CHIP-8 ROMs run well at 1000-1500Hz depending on the game (this isn’t something that can be determined on the fly, as in ordinary game loops).
To fix this issue, I added a constant which determines how many cycles to emulate every time the main Emscripten loop is given control. Calculating this constant wasn’t very straightforward, as the frame rate which ran natively didn’t directly translate to what ran in Emscripten. For example, if I ran a game at 1000Hz natively, I should be able to divide that by 60 to get the amount of cycles to emulate between every frame in an Emscripten loop - around 17 in this case. This wasn’t the case however, as the Emscripten loop ran much faster than anticipated: to get an Emscripten loop running at a similar speed to one running natively at 1000Hz, I set the amount of loops to emulate per frame to 10. I found this through a process of trial-and-error as there didn’t seem to be a good way to calculate this difference upfront.
Also it’s worth nothing that not every screen will refresh at 60 frames a second, which is something to consider if you want the program to run at the same speed for everyone.
The logic for emulating a set amount of cycles per frame looked as follows:
int cyclesPerFrame = 10;

void mainLoop() {
    for (int i = 0; i < cyclesPerFrame; i++)
    {
        chip8.cycle();
    }
}

int main() {
    emscripten_set_main_loop(mainLoop, 0, 0);
}
After compiling the emulator again with this change, everything worked as expected. Surprisingly, the keyboard also worked perfectly and didn’t require any intervention.
Exporting C++ Functions to Call from JavaScript
To finish this off, I wanted to add a dropdown so it’s possible to select a game to load (turns out Pong gets a bit boring after a while). First, I added a function to my C++ code which will get exported so it can be called from JavaScript. There is a page in the Emscripted docs which explains this in good detail. The function looked as follows:
extern "C" {
void loadRom(char *path, int cyclesPerFrame_) {
    cyclesPerFrame = cyclesPerFrame_;

    chip8.reset();
    chip8.loadRom(path);
}
}
The function is wrapped in extern "C" to prevent C++ name mangling. I also added a cyclesPerFrame_ parameter as many CHIP-8 ROMs need to have their frame rate adjusted to run at an appropriate speed.
Next, I exported the function to enable it to be called from JavaScript. In order to call a C++ function from JavaScript, I also need to export the runtime ccall and/or cwrap methods which are called on the Module JavaScript object which the Emscripten-generated code calls at various points in its execution. To do this, I added the following to my compiler flags:
-s EXPORTED_FUNCTIONS=\"['_main', '_loadRom']\" \
-s EXPORTED_RUNTIME_METHODS=\"['ccall', 'cwrap']\" \
-s ALLOW_MEMORY_GROWTH=1 \
--no-heap-copy \
Note that I also exported main as I want to be able to call the main function myself and not start it automatically when the page is loaded. The -s ALLOW_MEMORY_GROWTH=1 and --no-heap-copy flags are necessary as the memory used by the WASM code will increase when we load a game. This shouldn’t have any overhead when compiling to WebAssembly.
Next, I made some changes to the shell.html file:
I set
noInitialRuntotruein the JavaScriptModuleobject so it doesn’t automatically run the emulator when the page loads.Added a dropdown for selecting which ROM to load. Each option includes a path to a ROM to load and specifies the amount of cycles to emulate per frame, which differs per game.
<div class="emscripten" id="menu">
  <select id="rom-dropdown">
    <option value='{"name": "games/Pong (1 player).ch8","cyclesPerFrame":10}'>
      PONG
    </option>
    <!-- More ROMs -->
  </select>
</div>
Added a JavaScript listener to check for changes in the dropdown when the WebAssembly code has loaded, and call the exported C++ function:
function getRomOptionsFromDropdown(optionText) { let romOptions = JSON.parse(optionText); const romName = romOptions["name"]; const romPath = "bin/roms/revival/" + romName + "\0"; selectedRomUInt8Array = new TextEncoder().encode(romPath); cyclesPerFrame = romOptions["cyclesPerFrame"]; Module.ccall( "loadRom", "null", ["array", "number"], [selectedRomUInt8Array, cyclesPerFrame] ); } Module["onRuntimeInitialized"] = function () { getRomOptionsFromDropdown(document.querySelector("#rom-dropdown").value); document.querySelector("#rom-dropdown").onchange = function (event) { getRomOptionsFromDropdown(event.target.value); };- Note that JavaScript strings are not null terminated. Since we’re passing the string with the ROM path from JavaScript to C++ code, we have to append a null character manually as C and C++ strings must be null-terminated. If the string is not null-terminated, then certain C++ functions which rely on the string being null-terminated won’t work as expected.
Audio
I mentioned that I’d come back to audio earlier in this post. The only audio in the emulator is a simple “beep”, implemented as a sine wave that which gets played on a separate thread. To compile the code I had to add some extra compiler flags as described in the Emscripten Pthreads support page to allow for multithreading in Emscripten.
I compiled the code with the audio enabled and checked how Chrome treats it. The audio played when it should, however it ended up being a high pitched noise of varying frequencies which didn’t stop - not exactly what I wanted. Changing various settings didn’t seem to have an effect on the noise produced. I also gave it a go in Firefox, which required me to enable a flag as the support in Firefox for Webassembly pthreads is currently experimental. Once the flag was enabled, Firefox had various issues with the audio device and I didn’t see pursuing this any further worthwhile.
In order to make this work, I a good way would be to handle the audio entirely in JavaScript and query the emulator for when a sound should play. Since I didn’t see much value in adding sound to the emulator, I left it out.
Finishing Touches
That’s pretty much it - I managed to compile the emulator into WebAssembly, I added the ability to play different games and to host the emulator online. To finish the emulator off, I added some CSS styling, a start/stop button and instructions on how to play which was easy to do by editing the default Emscripten shell file.
An extra thing which was worth doing is checking how the site behaved in different web browsers. For example I made the assumption in my JavaScript code that the game picker dropdown will always not have a game selected when the page is loaded. This held for Chrome, but not for Firefox which remembers what the last option that the user picked in a dropdown was, so I had to handle that case accordingly.
Conclusion
I hope this post was somewhat insightful for anyone looking at compiling their own C or C++ code into WebAssembly. I think there’s huge potential in the technology, and can be very useful for computationally expensive tasks which aren’t viable to be ran using JavaScript. For examples of more sophisticated projects using WebAssembly and some inspiration, I recommend having a look Made with WebAssembly.